Printable Paper Plate Turtle
Printable Paper Plate Turtle - Web to make a smaller turtle, cut the center out of a regular size paper plate. Fold the paper plate in half. Add unique features, colors or textures to your turtle. Cut out several green squares and glue the squares to the flat part of the plate to make the turtle’s shell. Get a clean paper plate and paint the outside. Paper plate, brown foam, green paint & paintbrush, scissors, glue, green crayon, black marker, stapler, and our free printable. Decorate the turtle shell with marker, no need to stick to one color only here. Now it’s time to give the turtle (2) eyes and voila! Web directions for paper plate turtle: Then overlap the edges a little to make the plate. When drawing the head and flippers, make sure that you add an extra flap to each of them. Make a cut from the edge to the centre of the plate, and overlap and staple the two edges together to make the turtle’s shell. This flap will be used to stick the flippers onto the shell. Now it’s time to give the turtle (2) eyes and voila! To make them into a banner, i used a hole punch to punch holes below each mask and strung them together using inexpensive ribbon. Use a marker to add eyes to your turtle. Web paper plate turtle craft instructions step 1: And two back flippers, as shown. Glue green circles to paper plate. Use it as a guide to see how big you need the head and flippers of your turtle to be. Web paper or card stock; These could be put up individually as decoration on the walls using 3m command strips or double sided tape. Glue green circles to paper plate. Grab a small paper bowl, brown paint, green cardstock paper, green and gold tissue paper, and googly eyes to make this lovely paper bowl turtle. Use it as a guide. Web paper plate turtle craft instructions step 1: Cut out several green squares and glue the squares to the flat part of the plate to make the turtle’s shell. Get a clean paper plate and paint the outside. Grab a small paper bowl, brown paint, green cardstock paper, green and gold tissue paper, and googly eyes to make this lovely. We did 2 coats of paint letting it dry between coats. You will need a pdf reader to view these files. And two back flippers, as shown. Web what you will need to make a paper plate turtle… a paper plate. This flap will be used to stick the flippers onto the shell. Web paper or card stock; When you get to the edge of the plate, fold the tissue paper underneath. Web paper plate turtle craft instructions step 1: To make this project easier, take a look through your pantry for round and oval containers in various sizes to trace around. Grab a small paper bowl, brown paint, green cardstock paper, green. Many basic skills can be addressed during and after the craft assembly process. Print tail, legs, and head template. Web to make a smaller turtle, cut the center out of a regular size paper plate. Glue green circles to paper plate. This will be the start of your turtle’s shell. Web paper plate turtle craft directions 1. Web one more fun version of a diy turtle craft done with the paper plate or paper bowl. Web how to make a turtle with a paper plate use the dot art bingo daubers to turn the paper plate into a colorful turtle shell! Now it’s time to give the turtle (2) eyes and voila! Web once the plate has dried, cut out (4) feet, (1) head and a small triangle tail for the turtle (as shown in the photo). To make them into a banner, i used a hole punch to punch holes below each mask and strung them together using inexpensive ribbon. Cover the paper plate with tissue paper squares. Wait for it to dry. Web all you need is to print out this ninja turtle banner file, cut out the shapes and glue to the plates. Young children will have fun making an easy and fun craft of a turtle or tortoise assembled with shapes (circle, triangles, ovals). Use a marker to add eyes to your turtle. These could be put up individually as decoration on the walls using 3m command strips or double sided tape. Flip a paper plate upside down. Use craft punches to cut out various sizes and shades of green circles from the cardstock. Use it as a guide to see how big you need the head and flippers of your turtle to be. You can also print the free printable on green copy paper to save time.
Paper Plate Turtle Craft for Kids (+ Free Printable Template!) Six

Paper Plate Turtle Craft for Kids (+ Free Printable Template!) Six

This easy and fun Paper Plate Turtle craft includes a free printable
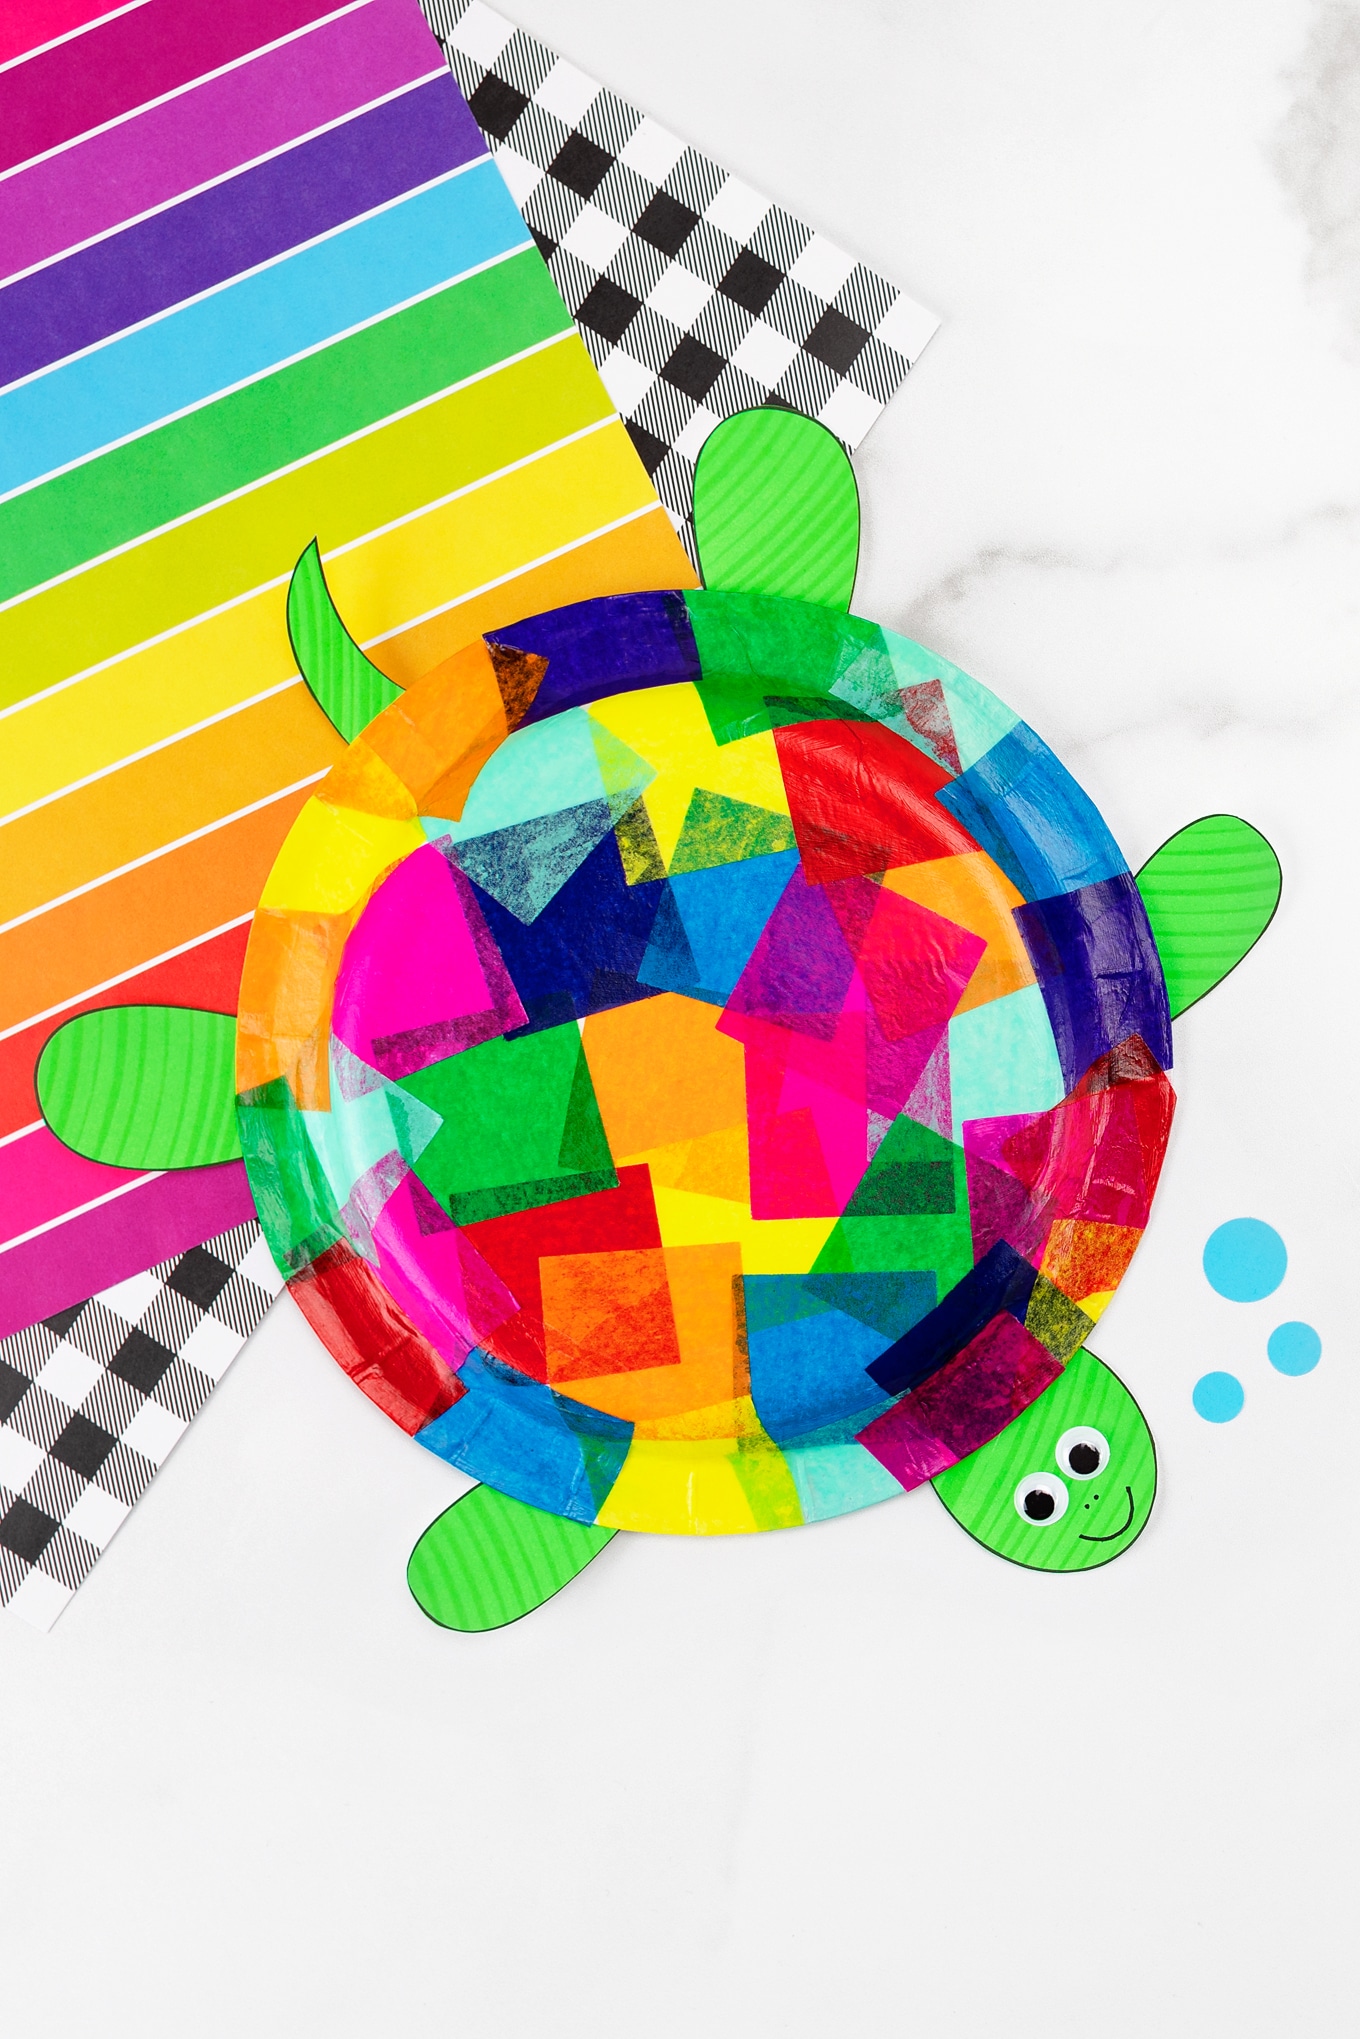
Tissue Paper and Paper Plate Turtle Craft

Paper Plate Turtle Craft dieren boven en onder water Pinterest
Web To Make A Smaller Turtle, Cut The Center Out Of A Regular Size Paper Plate.
Start By Cutting The Paper Plate From An Edge Into The Center (As Seen Below).
Glue Green Circles To Paper Plate.
Use The Center, Smaller Circle For Your Child Turtle.
Related Post: